Solarta includes Header/ Footer builder system. In this article, you will learn how the template system works. To start, make sure that Solarta Core and Eversor plugins are installed and active. Let’s start with a Header.
Step 1.
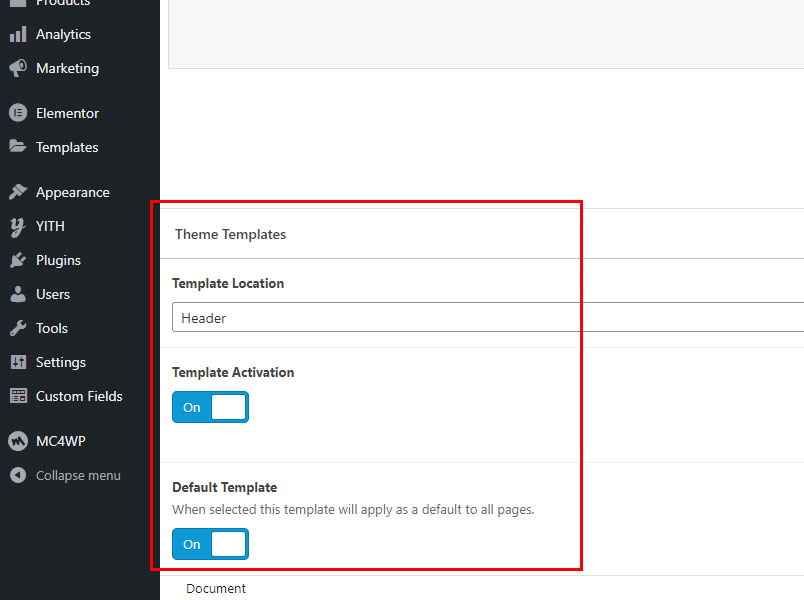
Navigate to Solarta -> Templates. Create a new template and call it Header. If you want to have multiple headers on your website, select which one is default by using Default Template switch. Select Template Location as Header or Header Vertical if you want a vertical header. Click Activate Template switch to activate your new header template.
Step 2.
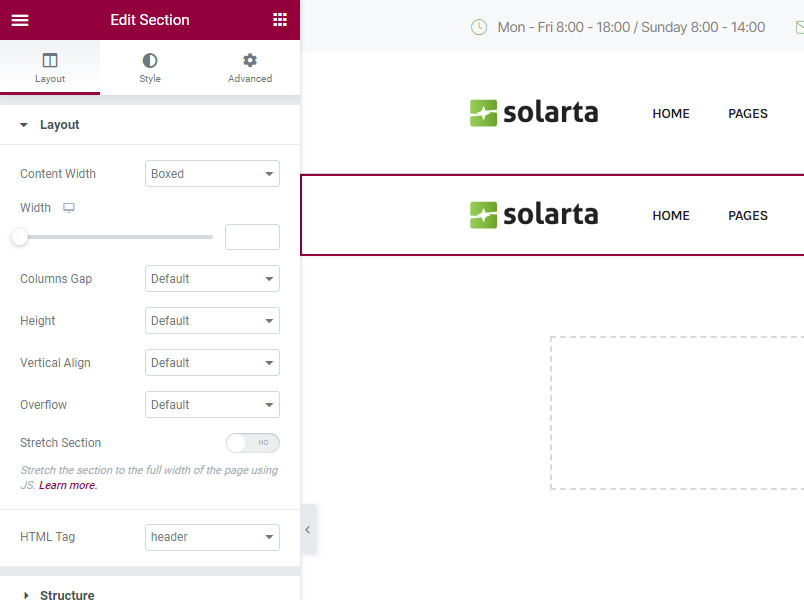
Click on Edit with Elementor button and start editing. Here you can edit your header the way you want it, however, we recommend importing pre-defined demos instead of making them from scratch. While editing the header template, select Header section so you can find additional settings in the left menu: Enable sticky on scroll header and Enable transparent header. You can duplicate your default header and click on Enable sticky on scroll header. This way you will have 2 headers, one that stays always on top and the other that sticks when you scroll a page. You can style your sticky header differently as you wish.

Step 3. (optional)
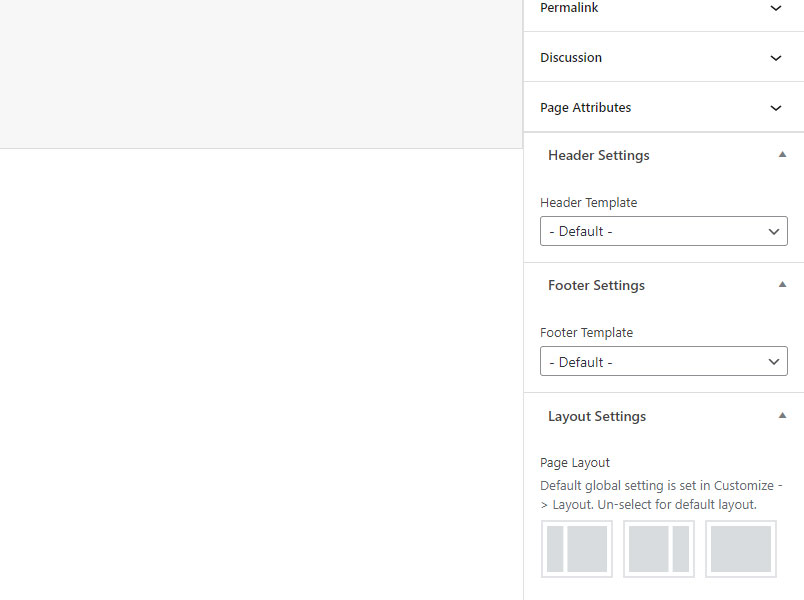
If you need only one header on your website you can skip this step. Let’s say you want a transparent header on your home page and a regular white header on inner pages. After you created and activated both of your headers, navigate to any page or post and find Header Settings in the right sidebar. From here you can select your second header, and save the page to apply changes. Your second header will appear only on this page.

Footers.
These templates work in a similar way. For a Footer select location Footer.
Off-Canvas.
For Off-Canvas content leave location as Default. When creating Off-Canvas content it will appear in the Off-Canvas widget.
Deactivating or Deleting Templates.
When you deactivate or delete your template it will be unassigned from the pages that you’ve assigned it to.

